Monday, December 22, 2014

Christmas Card Time!!

This year all the creative parts of my card were done on Photoshop... no fun textures or doodads added. Which was honestly a little hard for me, but I really liked the final print, so I guess it's okay =)
I took a cool sky, some great water, a picture of me, a spyglass, and the old cast iron tub in the back yard (because cast iron tubs are really cool, and you can't just get rid of it!).
 
Those shoes made me 6'2" tall! It was fun and really weird all at the same time. While it was fun for a bit, my toes were really happy when I took them off. Having my hair up in a 40's style victory rolls was the most fun for me in this year's card. If I become a hipster in the next year, I am definitely going to wear my hair like that every day!

After I composited together all the elements of my photo, there was just a little more Photoshopping to do. I wanted the horizon to blend the water and sky together more, so I darkened it up. I decided the stripes on my top would work better red for a Christmas card. Of course I used a little handy cut and paste to exchange the paper roll I was holding with the spyglass =) And I did my best to make the water look like it was actually hitting the side of the boat tub (which I had highlighted the grudge).


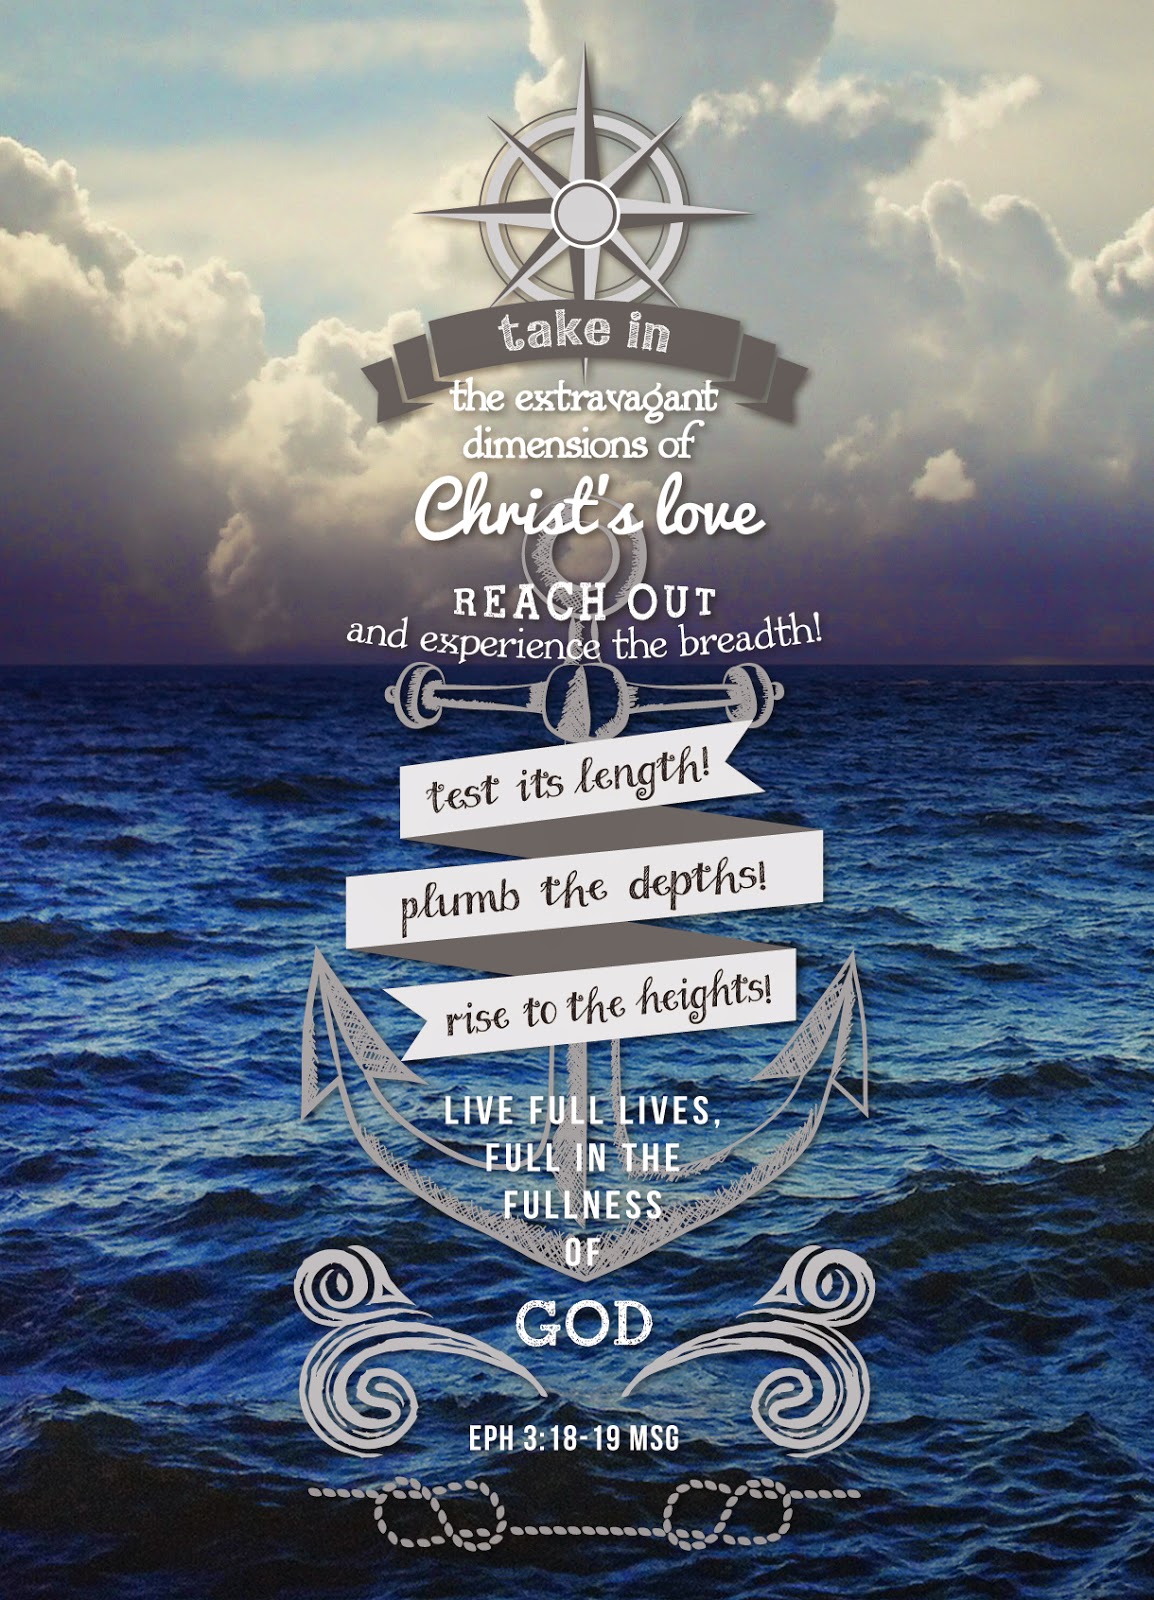
Then I went over to my favorite program, Illustrator, and created a graphic from scripture. It's usually rather hard for me to choose a scripture (there are of course so many!) This year's is one that I has been my scripture for the year and so I smiled when I realized it would work well for my card. (I put the scripture on its own if you would like to save it for yourself.)
 
I printed them through Zazzle.com with a fantastic deal I got. You should have seen me at 1am, as I was finalizing my order, and I realized that I got to put a full graphic on the back as well!!! I was super happy with the quality of the printing and the cards through them.
 
I truly hope you have a Merry Christmas and a Blessed New Year!


Thursday, February 13, 2014

Sew a Felt Bunny Finger Puppet


Here is a pattern for a bunny shaped finger puppet I made from two shades of felt.

After you cut out the pieces from felt, start by attaching all the light color pieces onto the dark ones. I used a zigzag stitch around each to secure them. Being a seamstress, I prefer to sew things together than glue them, however you could glue on the light pieces to make this step easier.

Then again using a zigzag stitch, I attached the front and back body pieces (being sure to leave the bottom open). Then sewing the paws on top of the finished body. I would recommend sewing the body pieces together instead of gluing, but you could gluing the paws onto the body.

When it comes to painting on the face, my trick for nice round eyes is to use the other side of the paint brush. Dab the end of the paint brush handle in the paint, place on the felt and gently twist. After painting on a nose and mouth, I add some of my very own blush, using a cotton swab.

And that's all there is!


Wednesday, January 15, 2014

Christmas Card 2013


When I decided that I wanted to do a woodland theme Christmas card for 2013, in order to use the foam fir tree stickers I had been holding on to, I actually thought it would be an easy card. But as I pondered the design to encapsulate my theme, I snowballed myself into hours of creating artwork. Truly though, it was a labor of love.
For me, this kind of artwork begins with paper and pencil. And well, my hand drawn style always ends up ready for the pages of a children's book. =)
After pencil, I retrace the designs in fine point marker, scan them into my computer, then use Illustrator to create vector outlines. I also use the program to color and shade the designs. Or another style I use is to just scan the smudgy pencil to create a texture, like I did for the green striped wallpaper background.

Once the Illustrator elements were put together, I pulled them into Photoshop. Photoshop allowed me to easily create colored textures for the frames, pull in photo images of fabrics for portrait backgrounds, and to add my picture as the final portrait.
At this point, now that all the artwork and images were together, I could print as many as I wanted! I used Costco's photo holiday card printing service. But I couldn't just leave it without a little texture, and as was the plan all along (remembering those tree stickers!) I added googly eyes to the owl (luckily they were stickers too), a balsa wood bird, and the fir tree sticker to my hand - which looked odd in my photo shoot to be holding an imaginary object.
Can I also say, suspenders are not as comfortable as I thought they would be =)