Showing posts with label Christmas card. Show all posts

Monday, December 22, 2014

Christmas Card Time!!

This year all the creative parts of my card were done on Photoshop... no fun textures or doodads added. Which was honestly a little hard for me, but I really liked the final print, so I guess it's okay =)
I took a cool sky, some great water, a picture of me, a spyglass, and the old cast iron tub in the back yard (because cast iron tubs are really cool, and you can't just get rid of it!).
 
Those shoes made me 6'2" tall! It was fun and really weird all at the same time. While it was fun for a bit, my toes were really happy when I took them off. Having my hair up in a 40's style victory rolls was the most fun for me in this year's card. If I become a hipster in the next year, I am definitely going to wear my hair like that every day!

After I composited together all the elements of my photo, there was just a little more Photoshopping to do. I wanted the horizon to blend the water and sky together more, so I darkened it up. I decided the stripes on my top would work better red for a Christmas card. Of course I used a little handy cut and paste to exchange the paper roll I was holding with the spyglass =) And I did my best to make the water look like it was actually hitting the side of the boat tub (which I had highlighted the grudge).
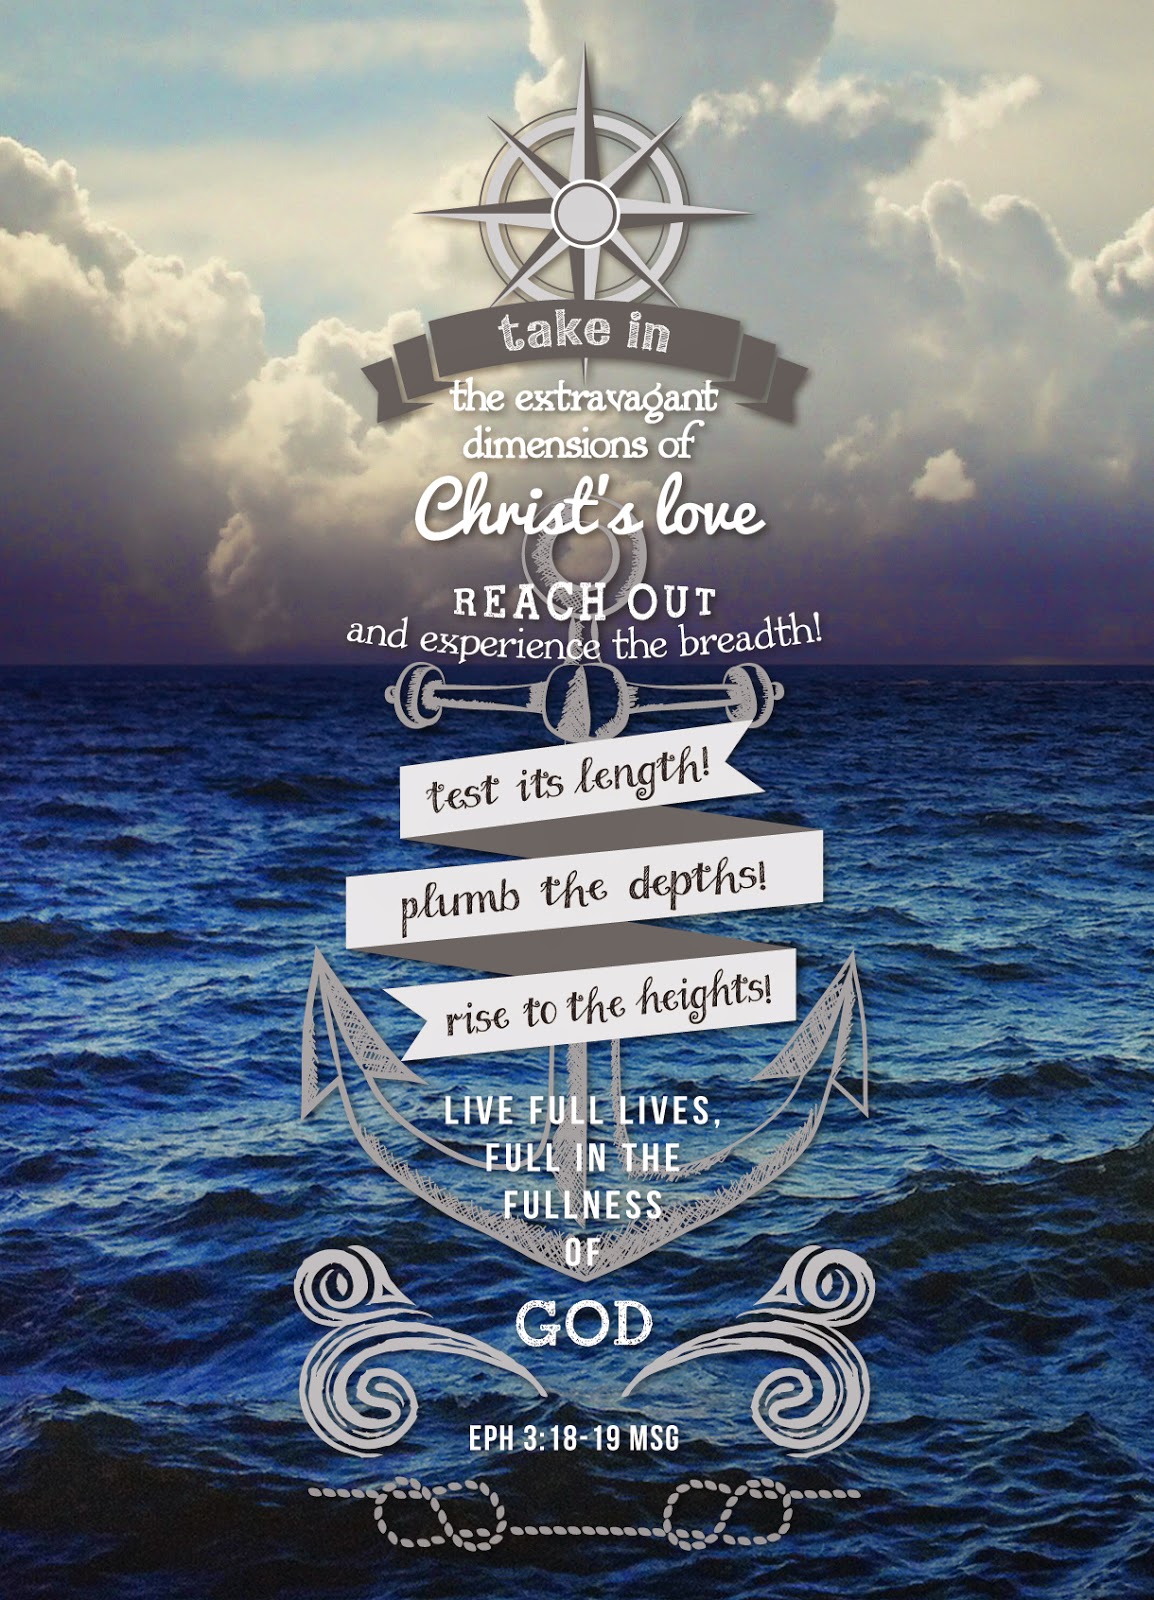

 
Then I went over to my favorite program, Illustrator, and created a graphic from scripture. It's usually rather hard for me to choose a scripture (there are of course so many!) This year's is one that I has been my scripture for the year and so I smiled when I realized it would work well for my card. (I put the scripture on its own if you would like to save it for yourself.)
 
I printed them through Zazzle.com with a fantastic deal I got. You should have seen me at 1am, as I was finalizing my order, and I realized that I got to put a full graphic on the back as well!!! I was super happy with the quality of the printing and the cards through them.
 
I truly hope you have a Merry Christmas and a Blessed New Year!


Wednesday, January 15, 2014

Christmas Card 2013


When I decided that I wanted to do a woodland theme Christmas card for 2013, in order to use the foam fir tree stickers I had been holding on to, I actually thought it would be an easy card. But as I pondered the design to encapsulate my theme, I snowballed myself into hours of creating artwork. Truly though, it was a labor of love.
For me, this kind of artwork begins with paper and pencil. And well, my hand drawn style always ends up ready for the pages of a children's book. =)
After pencil, I retrace the designs in fine point marker, scan them into my computer, then use Illustrator to create vector outlines. I also use the program to color and shade the designs. Or another style I use is to just scan the smudgy pencil to create a texture, like I did for the green striped wallpaper background.

Once the Illustrator elements were put together, I pulled them into Photoshop. Photoshop allowed me to easily create colored textures for the frames, pull in photo images of fabrics for portrait backgrounds, and to add my picture as the final portrait.
At this point, now that all the artwork and images were together, I could print as many as I wanted! I used Costco's photo holiday card printing service. But I couldn't just leave it without a little texture, and as was the plan all along (remembering those tree stickers!) I added googly eyes to the owl (luckily they were stickers too), a balsa wood bird, and the fir tree sticker to my hand - which looked odd in my photo shoot to be holding an imaginary object.
Can I also say, suspenders are not as comfortable as I thought they would be =)
 

Friday, February 1, 2013

Christmas Card 2012


For my 2012 Christmas card I made myself an old fashion styled circus high-wire outfit. Then with the magic of Photoshop I added a backdrop to make it look like I was off the ground. After I printed out the image I strung through the print, going under my feet, a "high wire" string for a fun 3D effect. Washi and glitter tapes made for an easy way to add design elements to my card.

 On the back I found some fun circus theme fonts to use as I finished off the graphic design. The extra space gave me room to write a quick hello.


Tuesday, December 13, 2011

My Homemade Christmas Cards

Fourteen years ago I started my production of a homemade Christmas card. It started when I was a poor college student living in a house with about 60 other people. I wished I could give everyone in the house a little gift, and if I made them smile for even just a moment knowing they got a handmade Christmas card, then that was a nice gift.

My Christmas card list only grew through the years. I love thinking about what card I will make for everyone each year, to remind people that I care about them, and to continually share the Gospel by writing about my life in Christ. I am very thankful and even blessed that I get to share my heart and creativities in this way each year.


As you can see my resources have increased over time, but since I create them in a large quantity, I can still make them on a budget.

They can be quite the production and perhaps some year I will return to the simplicity of the beginning years. But I can't really imagine that, since they have become such a joy and tradition for me each year. Moving more towards photo based cards has saved on production time. And I love coming up with a twist on a theme.


I have also made some of the outfits and props for my photos. This green jacket from last year's photo is the one I wrote of in a previous blog post.


Now I better get started on this year!! Merry Christmas!